How to Photograph the ISS with the Camera Already in Your Pocket
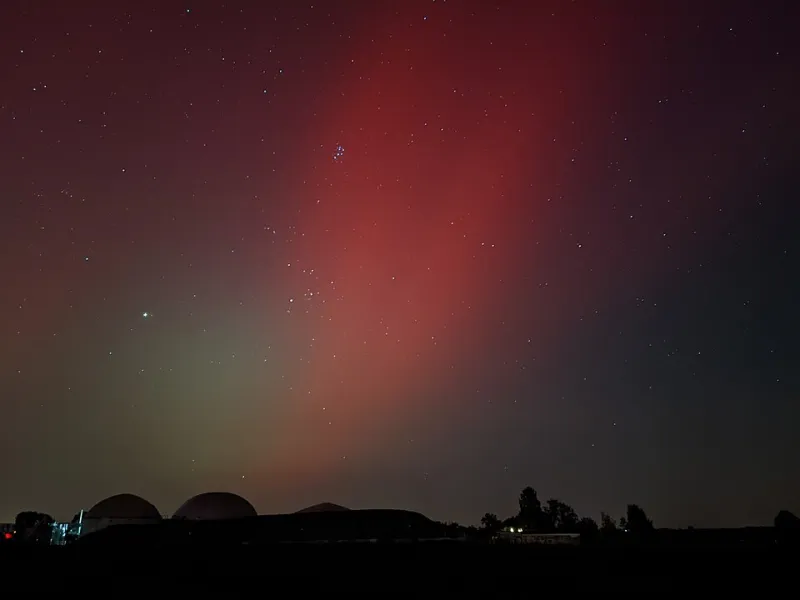
Photo: Profpcde, CC0, via Wikimedia Commons
Every clear evening, a spacecraft the size of a football field passes over your head at 17,500 miles per hour, glowing brighter than most stars. And most people photograph it exactly zero times.
The usual excuse is gear — the assumption that catching the ISS on camera requires expensive equipment, complicated software, or years of astrophotography experience. None of that is true. Amateur astronomers across the US are consistently pulling off impressive ISS shots with smartphones, GoPros, and basic DSLR kits they bought at big-box stores. Here's how they're doing it — and how you can too.
Start With the Timing, Not the Camera
Before you touch your settings, nail your timing. The ISS moves fast — it crosses the full sky in roughly six minutes, and the window for a well-positioned shot can be under two minutes. Check a pass prediction tool (NASA's Spot the Station app or Heavens-Above are both solid) the day before, and look for passes with a maximum elevation above 40° and a predicted magnitude brighter than -2. Those are your target nights.
Write down the start azimuth — the compass direction where the station first becomes visible — and physically go outside five minutes early to set up. This sounds obvious, but rushing out at the last second is the single most common reason people miss the shot. The ISS doesn't wait.
The Long-Exposure Trail Shot: Your Most Reliable Result
The most achievable ISS photo for most people isn't a crisp image of the station itself — it's a streak of light arcing across a star-filled sky. These trail shots are genuinely beautiful, and they're within reach of almost any camera that lets you manually adjust shutter speed.
What you need: Any DSLR or mirrorless camera (even an older entry-level Canon Rebel or Nikon D3000 works great), a tripod, and a remote shutter release or your camera's built-in timer.
Settings to start with:
- ISO: 800–1600
- Aperture: f/2.8 to f/4 (as wide as your lens allows)
- Shutter speed: 15–30 seconds
- Focus: manual, set to infinity
Point the camera toward the section of sky where the ISS will be during its peak elevation, start your exposure just before the station enters the frame, and let it run. The result is a clean, bright arc cutting across the image. If you have a wide-angle lens (24mm or wider on a crop sensor), you'll capture more of the arc in a single frame.
Try this in a darker part of your yard or neighborhood to keep light pollution from washing out the background stars. Observers in rural areas — think the Texas Hill Country, the Colorado high desert, or anywhere in rural Montana — have the obvious advantage here, but even suburban shooters in places like suburban Atlanta or the outskirts of Phoenix can get clean results by pointing the camera away from the brightest light domes.
Smartphone Trail Shots: Harder but Not Impossible
Smartphones are trickier because most default camera apps top out at a second or two for shutter speed. You'll need a third-party app that gives you manual long-exposure control.
For iPhone: NightCap Camera and Slow Shutter Cam both offer long-exposure modes specifically designed for light trails.
For Android: Manual Camera or ProShot give you full control over shutter speed.
Mount your phone on a small tripod (a $15 flexible Gorilla-style grip tripod works perfectly), set your shutter to 15–25 seconds, lock your ISO between 800 and 1600, and use the self-timer to avoid camera shake when you tap the screen. The results won't match a dedicated camera, but a 20-second ISS trail on a smartphone is still a photo worth sharing.
One tip that makes a big difference: prop your phone so the screen is tilted slightly toward the sky rather than pointing straight up. This gives you a more dynamic composition with a slice of foreground — a treeline, a rooftop, a distant water tower — that adds scale and context to the shot.
The Dot-in-Frame Approach: Quick, Casual, and Surprisingly Satisfying
Not every ISS photo needs to be an arcing trail. Sometimes you just want a single clean image that shows a bright point of light clearly separate from the background stars, proof that you were there and you caught it.
For this approach, use a shorter exposure — around 1–2 seconds — and time your shot for when the ISS is near its maximum elevation (the highest point in the pass). At that moment it's brightest and moving at its most apparent speed relative to your horizon.
Settings:
- ISO: 1600–3200
- Aperture: f/2.8
- Shutter: 1–2 seconds
The ISS will appear as a short streak rather than a dot, but the brevity of the streak makes it look intentional rather than blurry. Frame a recognizable landmark in the shot if you can — a lit-up barn, a radio tower, the silhouette of a tree — to give the image a sense of place. Astrophotographers in the Midwest often use grain elevators and flat horizons to great effect here.
The Holy Grail: Actually Resolving the Station's Shape
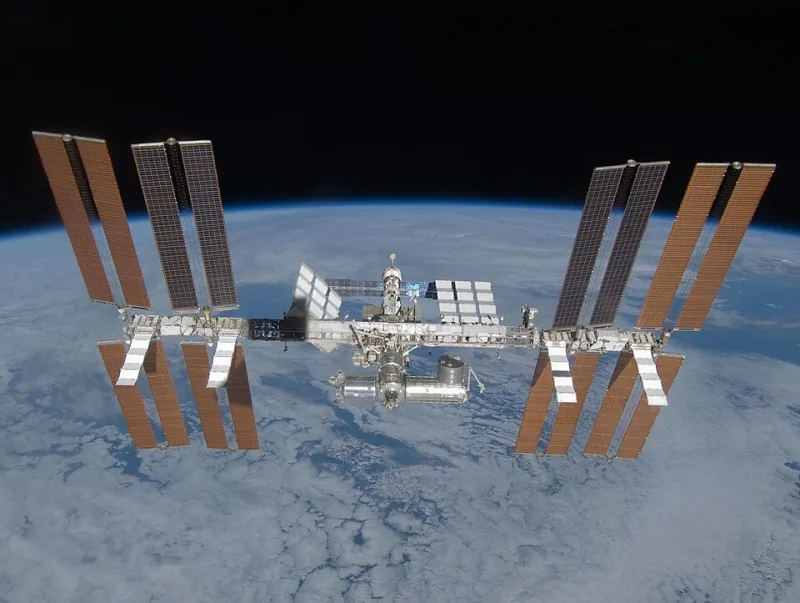
Here's the advanced challenge that hooks people once they've nailed the basics. The ISS is large enough that under the right conditions, with a long enough telephoto lens, you can actually resolve the station's shape — the solar panels, the truss structure, the rough T-shape of the modules.
You need at least a 500mm effective focal length, fast burst shooting, and a good deal of luck with your tracking. A consumer telephoto like the 100–400mm lenses available from Canon or Sigma, combined with a crop-sensor camera (which effectively multiplies focal length), gets you into the right range.
The trick is to set your camera to its fastest burst mode, pre-focus on the area of sky the station will cross, and hold the shutter down as it passes through frame. Out of 30–50 rapid-fire shots, you might get 2–3 where the ISS is sharp enough to show detail. It's a low-yield, high-reward approach — but when it works, you'll have a photo that looks like it came from a NASA press release.
Share What You Shoot
The amateur astronomy community in the US is genuinely enthusiastic about this kind of documentation. Platforms like Flickr's astrophotography groups, the r/astrophotography subreddit, and dedicated Facebook groups for ISS spotters are full of people comparing shots, sharing settings, and cheering each other on.
Your photo of the ISS over your backyard in Tucson or your front porch in rural Ohio is part of a larger, ongoing record of human presence in orbit — documented by people on the ground who looked up and decided to do something about it. That's worth a little fiddling with your settings.